How To Install Home Assistant On Proxmox.
-
To Install Home Assistant, we are going to use this Script which will automate the process significantly
-
Running this script will:
– Find, download and extract the official KVM (qcow2) Home Assistant OS image
– Define user settings, import and attach disk, set boot order and start the VM automatically
– Install the VM with Default Settings: 4GB RAM, 32GB Storage and 2vCPU cores
– Settings can be tweaked during installation -
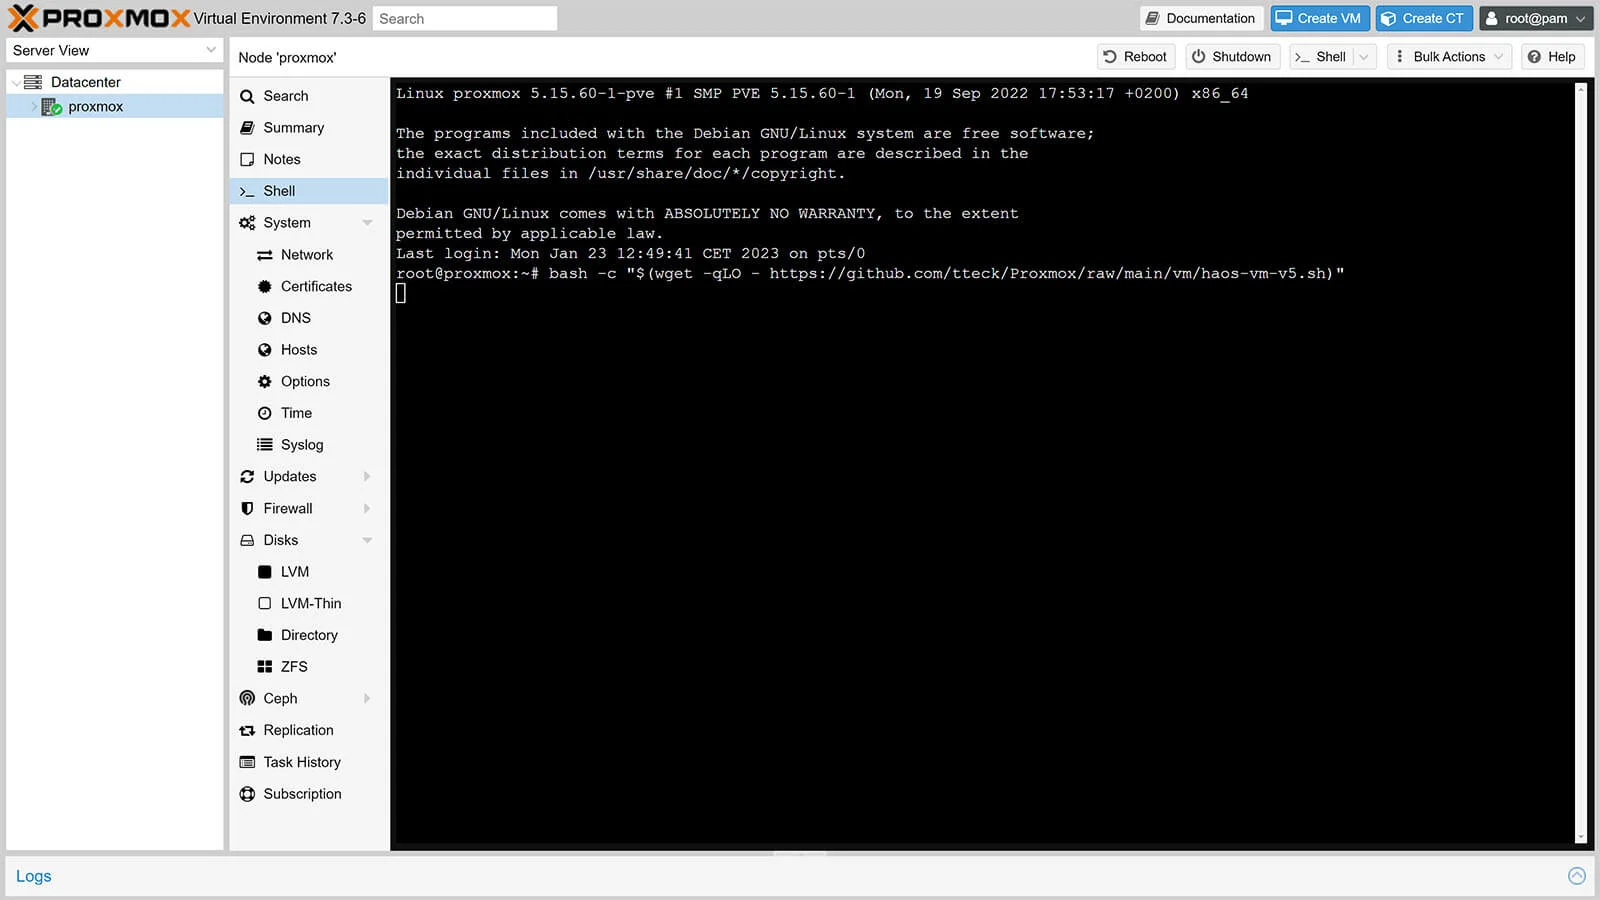
Click your VM on the left and select Shell
-
Copy the following command to run the script and hit enter:
bash -c "$(wget -qLO - https://github.com/tteck/Proxmox/raw/main/vm/haos-vm.sh)"
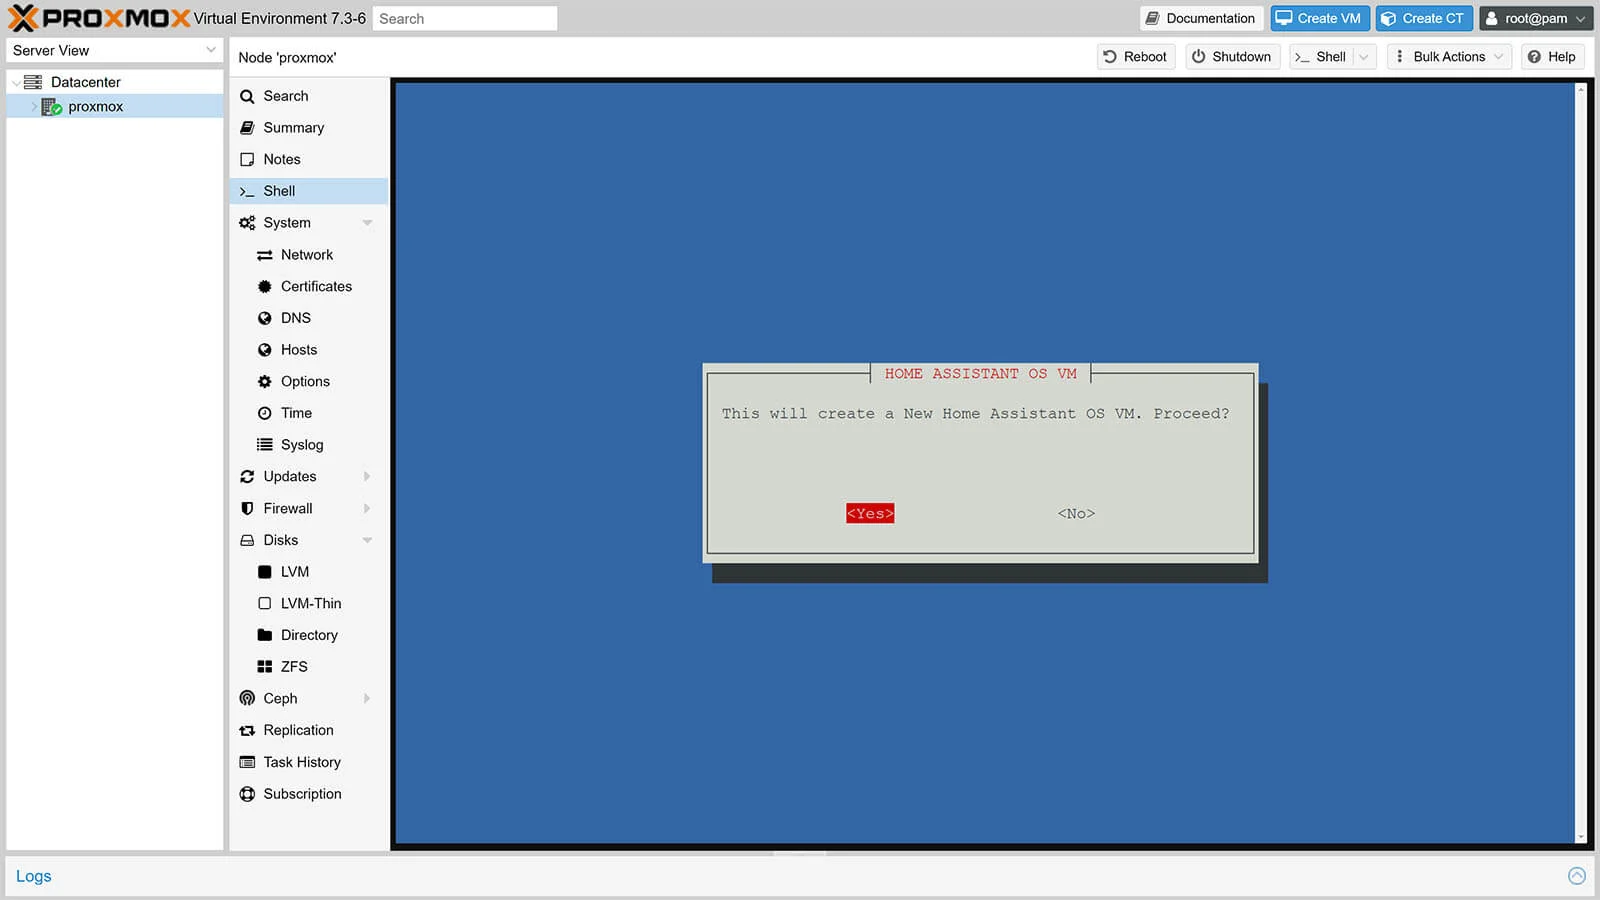
- The wizard will ask you to confirm that you want to create a Home Assistant OS VM
- Select Yes and click confirm
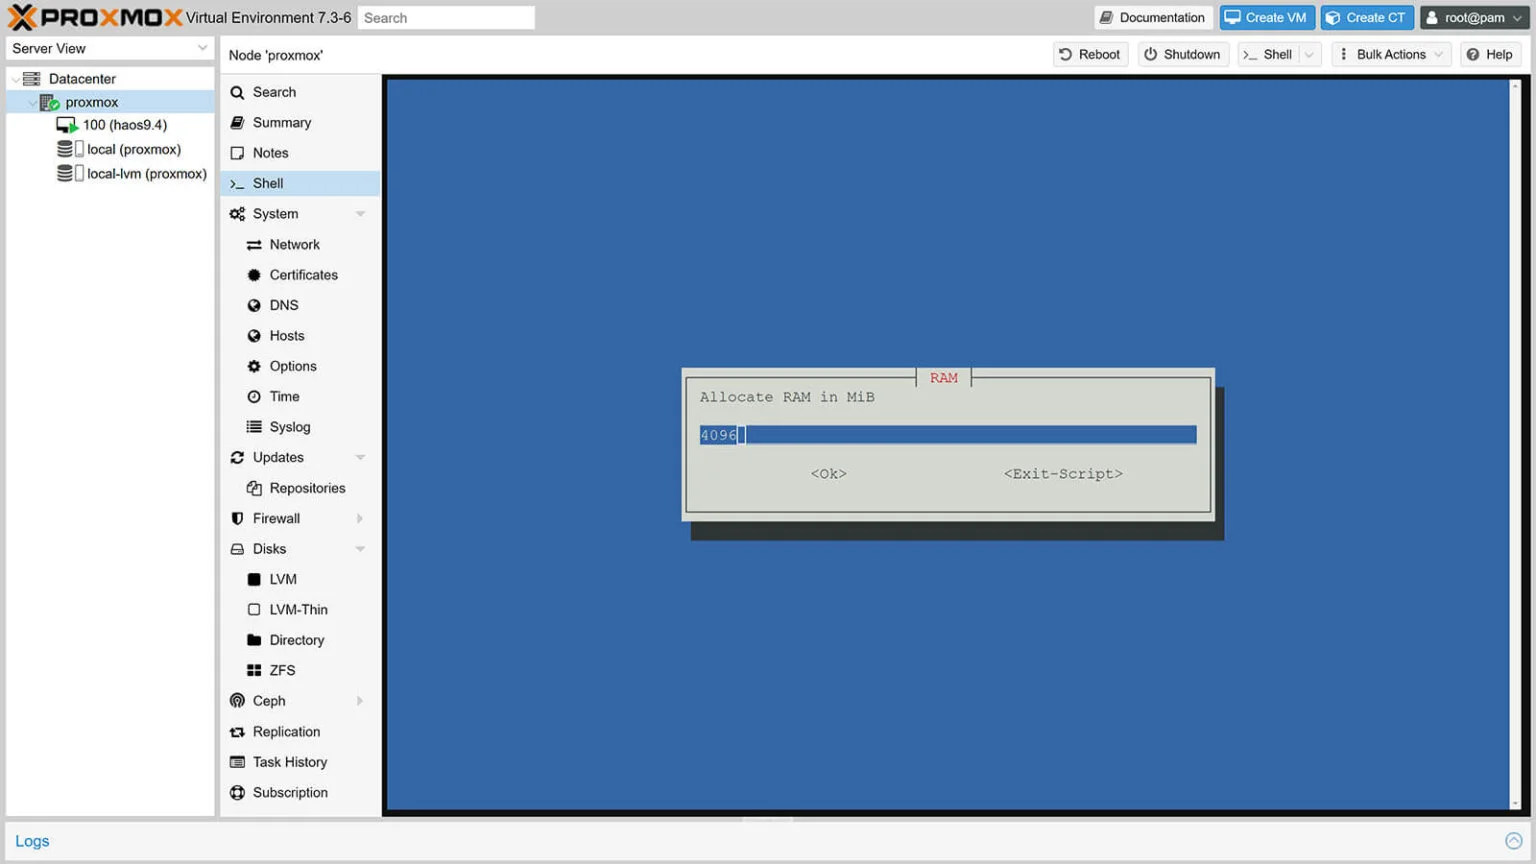
- On the next screen, choose either Default settings or Advanced
– Default settings are fine for a Home Assistant OS install, but you can assign more RAM and Storage if you need to. - If you choose Advanced Settings , you will be prompted to choose:
– Home Assistant OS Version (Stable, Beta)
– Hostname (cannot contain underscore ‘_’ )
– VM Machine ID
– Machine type
– Allocated CPU Cores
– Allocated RAM Memory

- Select the final Yes to confirm
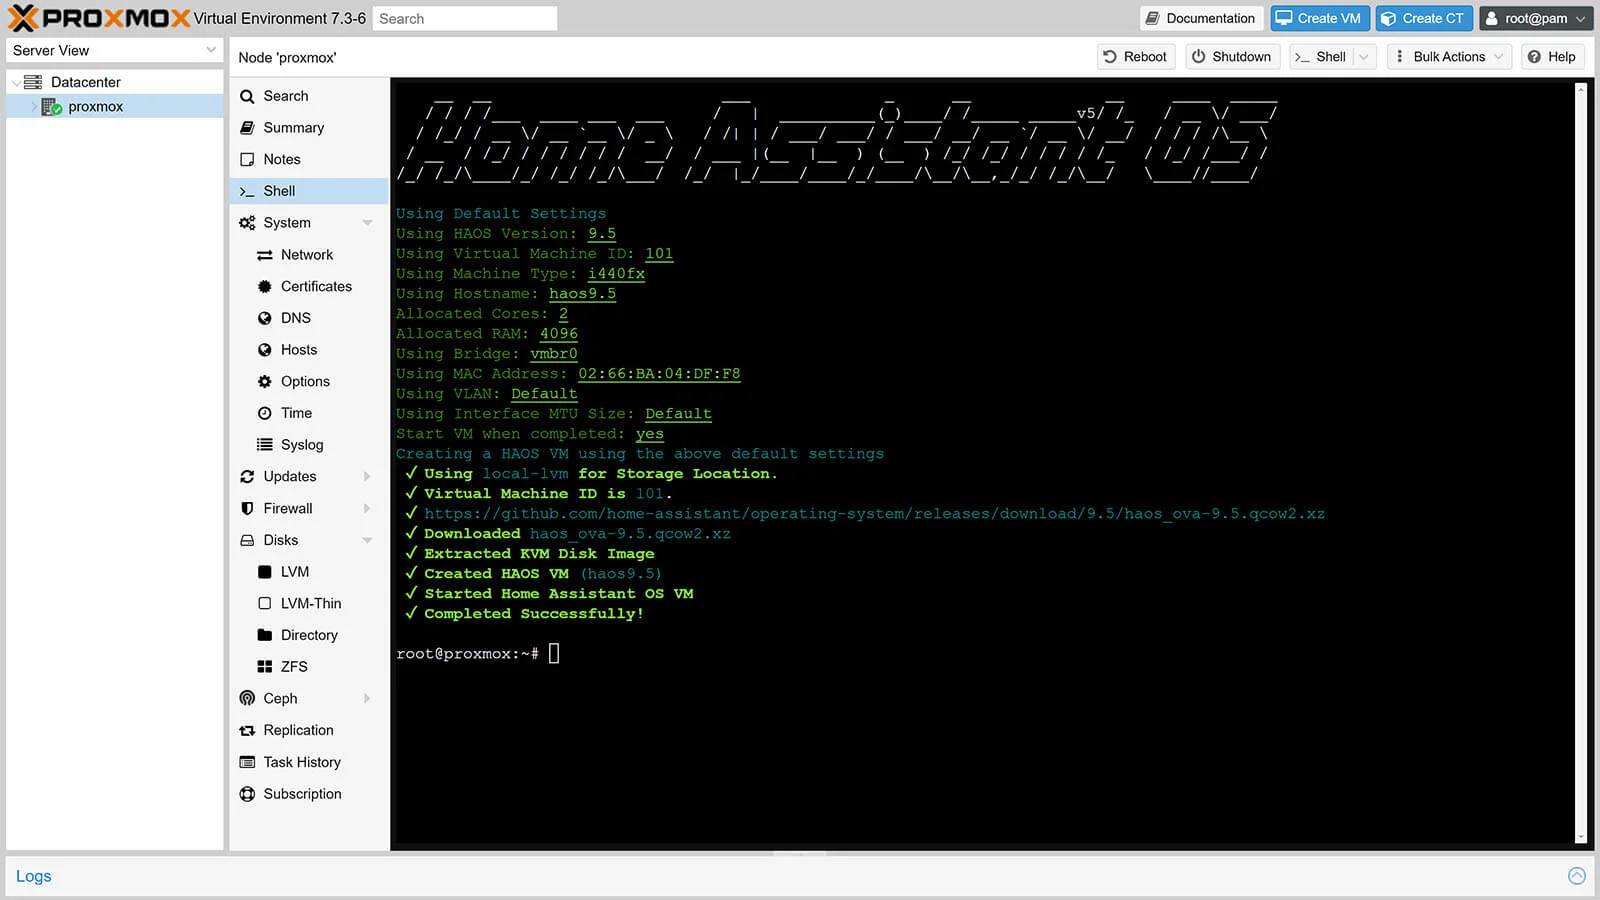
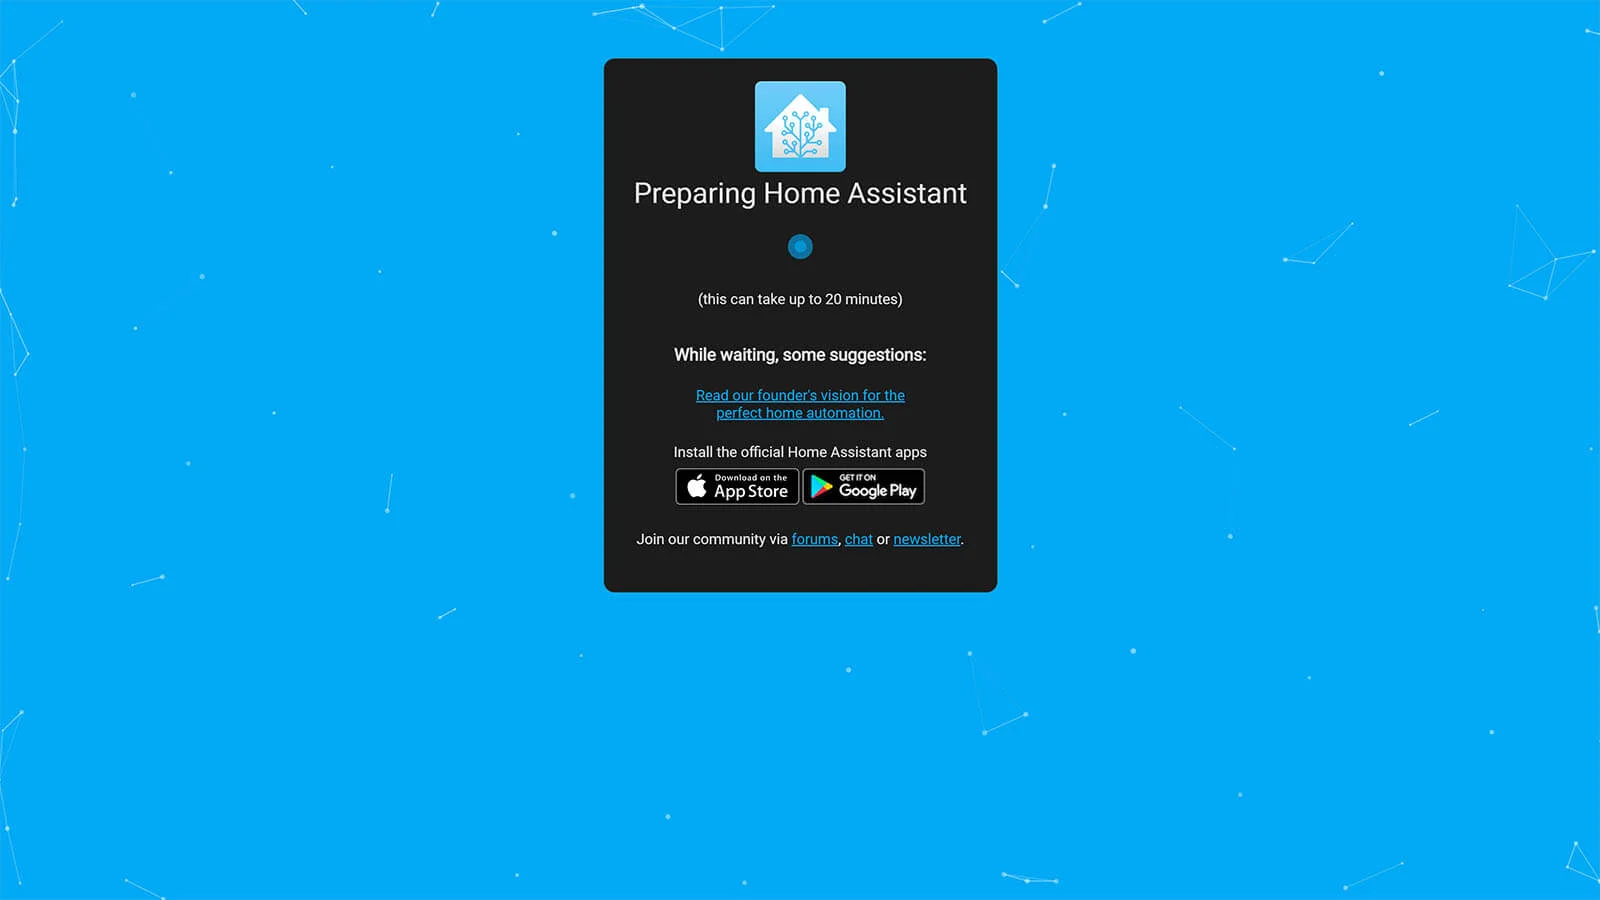
- Wait for the script to download, extract and install the latest KVM image of HA OS
- Once you get a Completed Successfully message, HA is installed
- To see the IP address your router assigned to your Home Assistant VM instance, click your node on the left
- Select your newly created Home Assistant VM
- The IP address is displayed in the middle
– Use it to access Home Assistant in your web browser192.168.xxx.xxx:8123
- Finished, you just installed HA OS on Proxmox!
(Optional) USB Passthrough to Home Assistant VM
If you use a Zigbee or a Z-Wave dongle, there is one additional step you must do in order to allow the Home Assistant VM to read your attached USB device.
- Attach your USB Device (Zigbee dongle) to your server
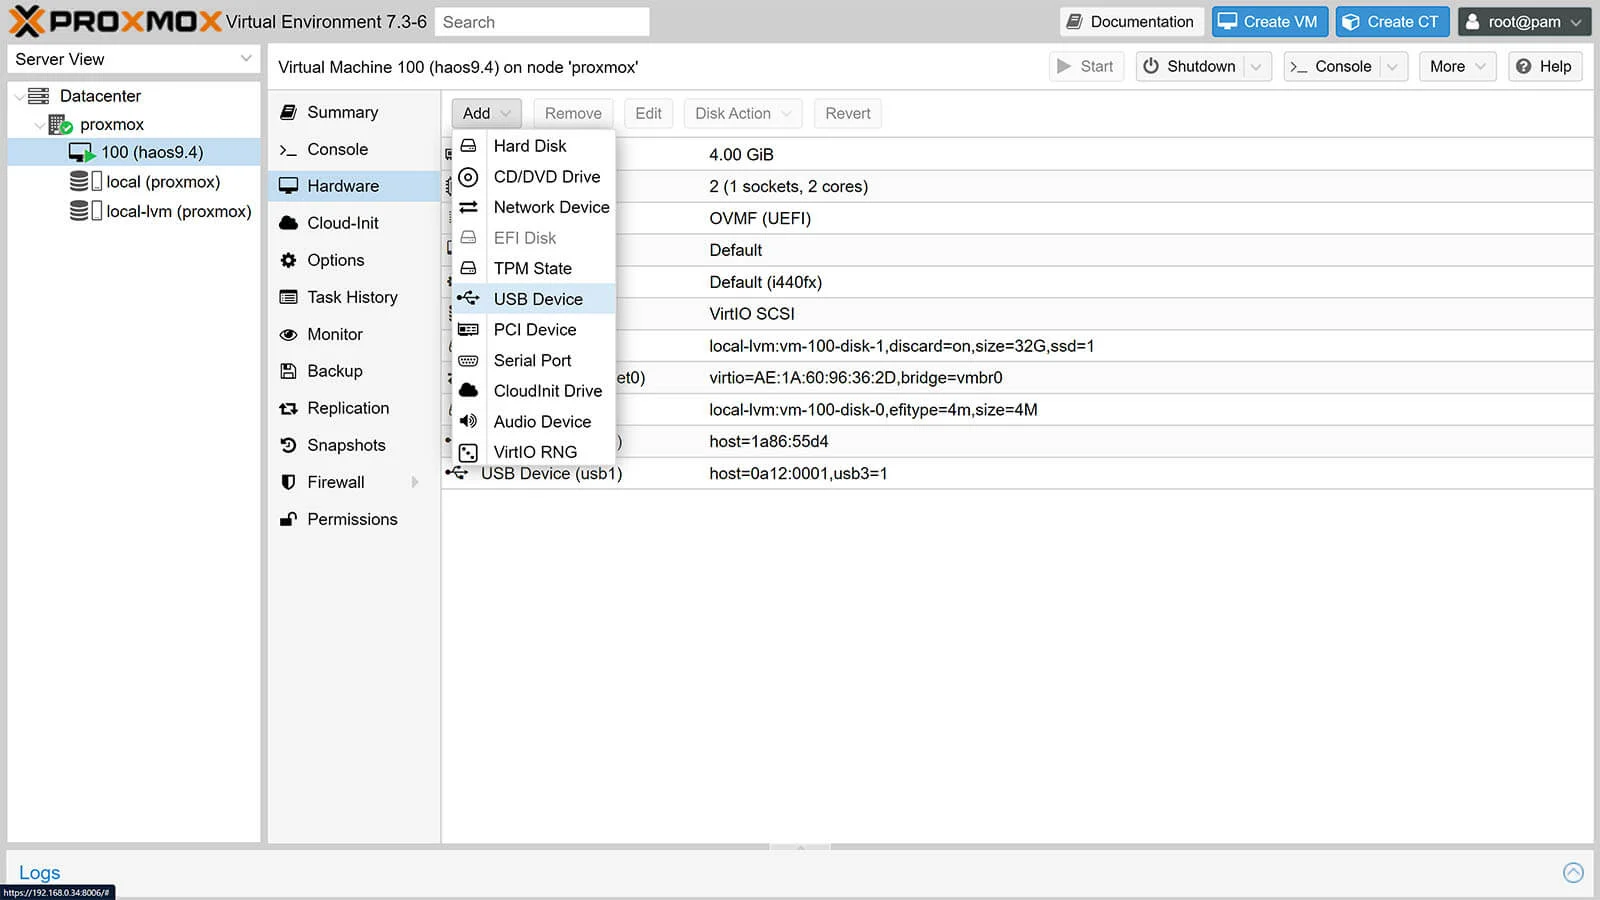
- Select your Home Assistant VM on the left
- Select Hardware from the Menu
- Click Add at the top bar
- Select USB Device
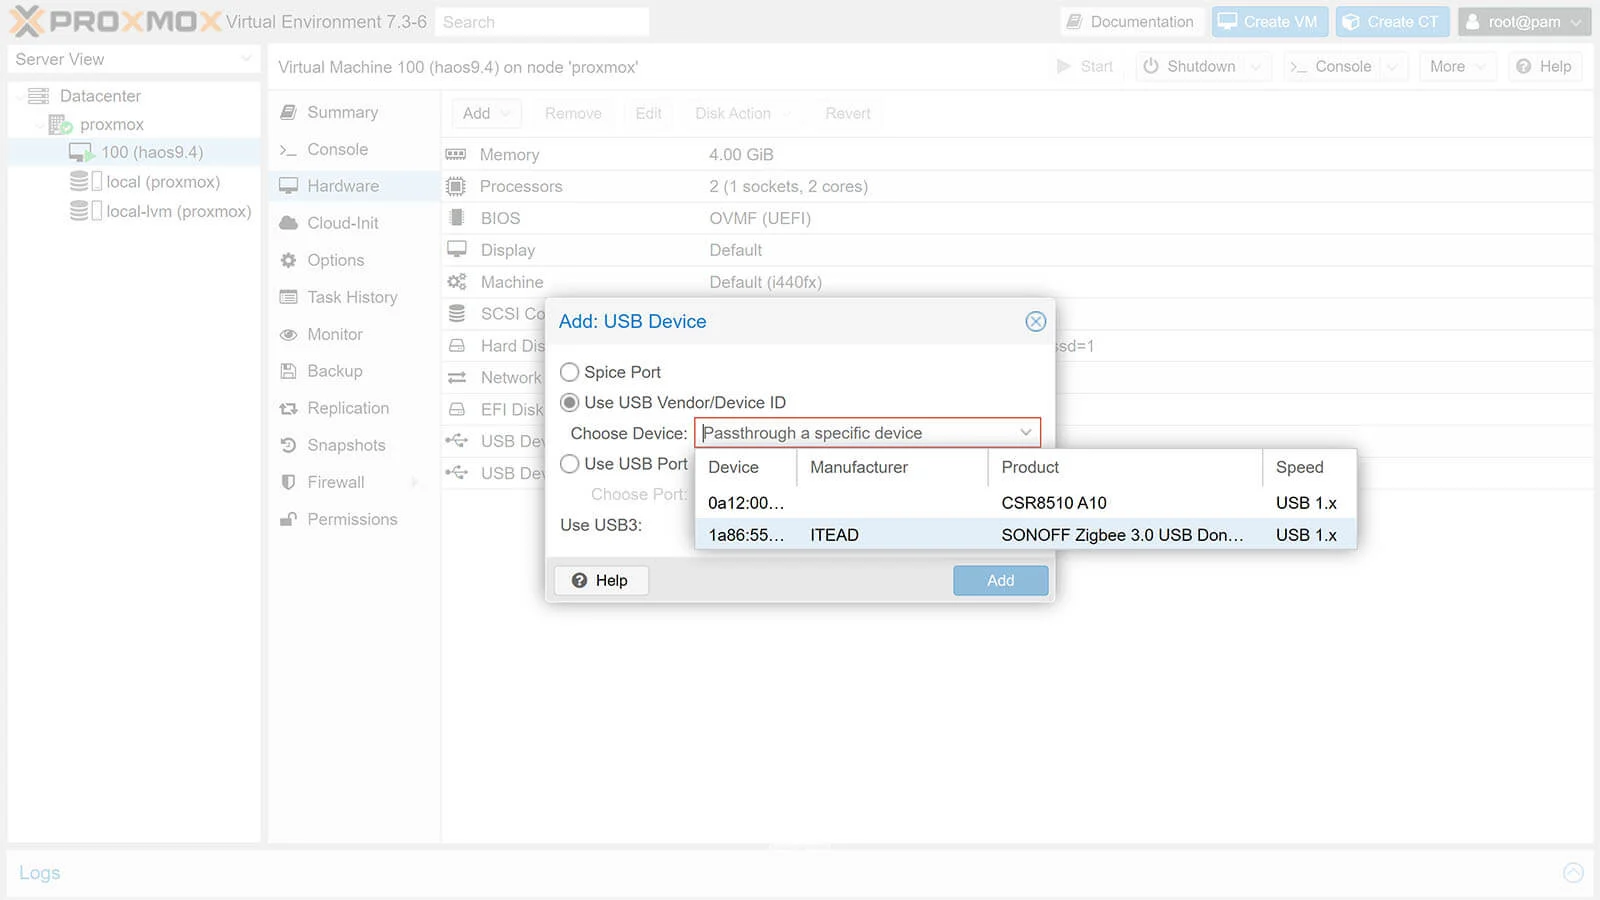
- Select Use USB Vendor/Device ID from the menu
- Select your USB Device (Zigbee/Z-Wave Dongle)
- Click Add
- At the top corner, press the small arrow next to Shutdown
- Choose Reboot and confirm to restart the VM
- If you navigate to Home Assistant, you USB dongle will be auto-discovered
- Done